Highlights
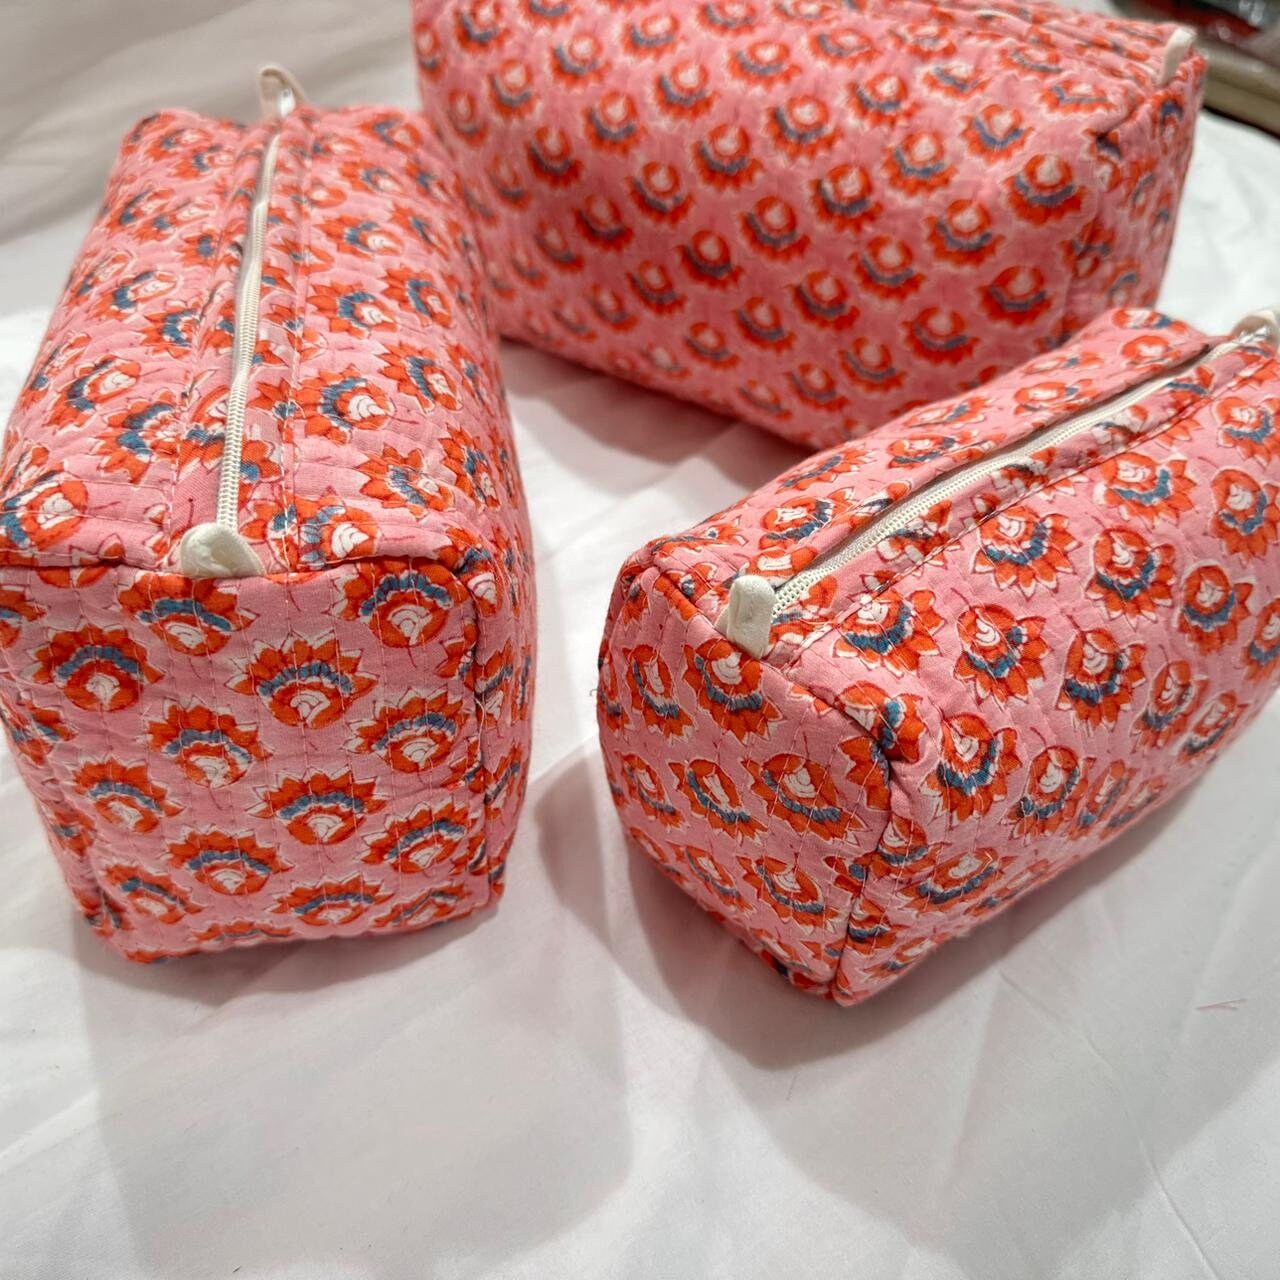
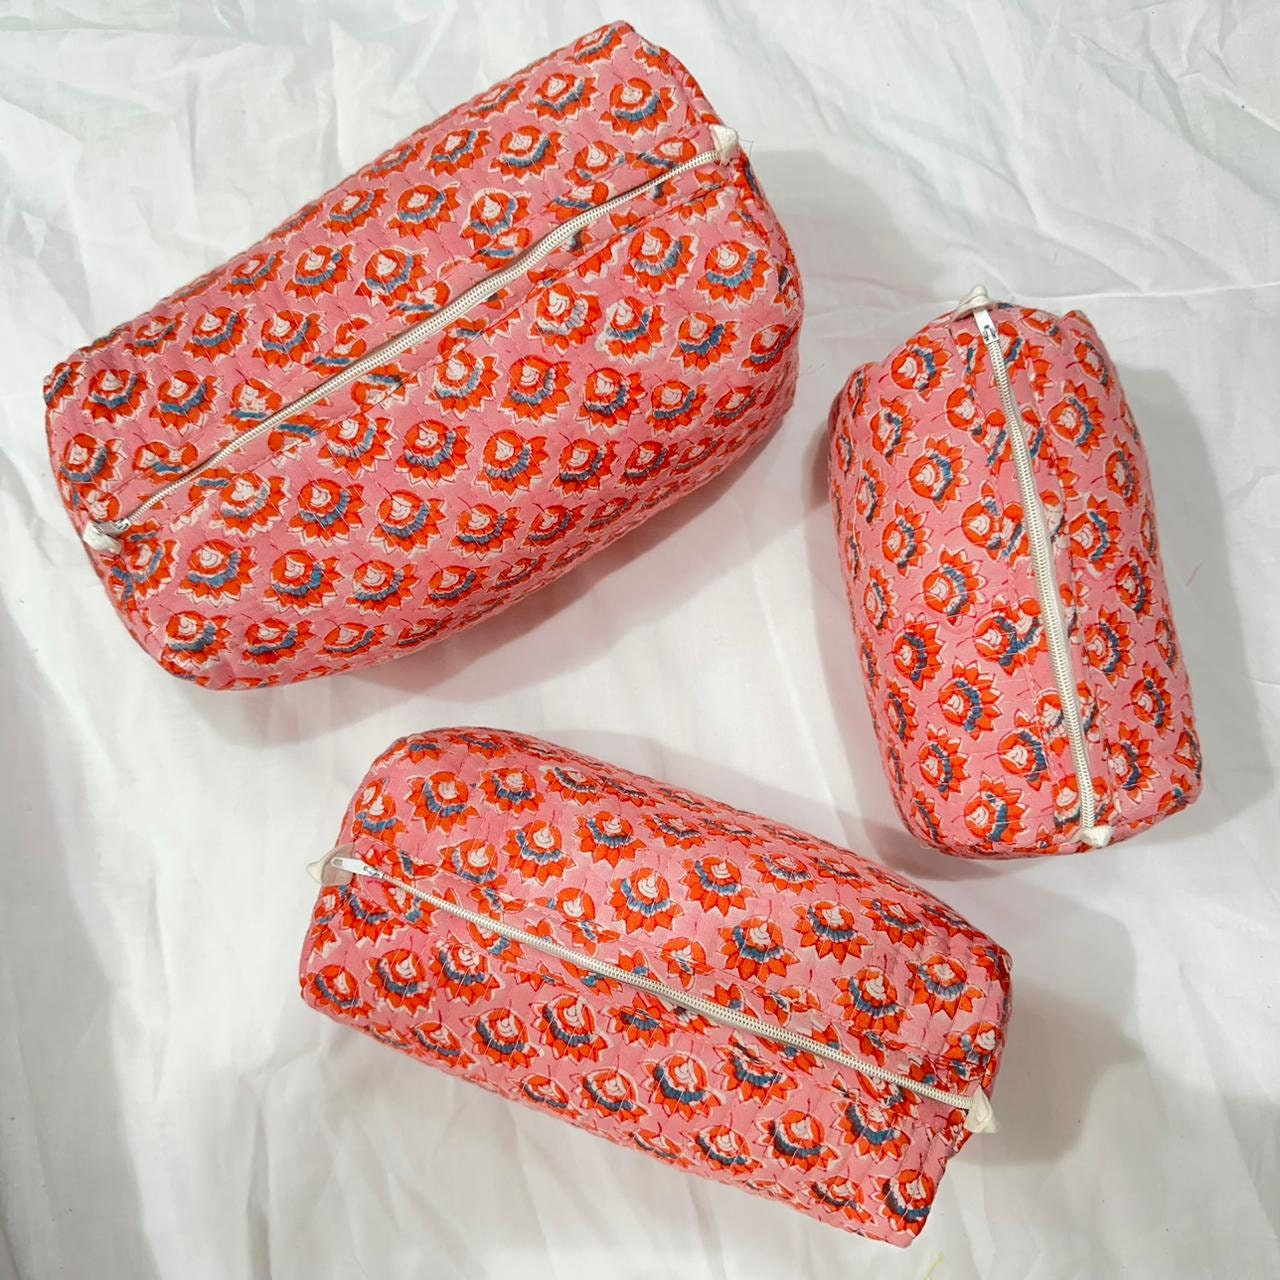
Description
Crafting a machine-quilted toiletry pouch involves meticulous attention to detail and precision in each step of the process. Begin by selecting a vibrant cotton block print fabric, as this will not only add a touch of elegance but also provide a sturdy base for your pouch.
Step 1: Fabric Preparation
Start by washing and ironing the cotton block print fabric to eliminate any potential shrinkage. Lay it out on a flat surface, ensuring it is smooth and of wrinkles. Cut the fabric into two equal-sized rectangles, considering the desired dimensions for your pouch.
Step 2: Plastic Lining
Cut a piece of plastic to match the dimensions of one fabric rectangle. This will serve as the waterproof lining for the pouch, protecting the contents from potential leaks. Carefully place the plastic on the wrong side of one fabric piece.
Step 3: Quilting
Layer the plastic-covered fabric with the remaining fabric rectangle, right sides facing each other. Pin the layers together to prevent shifting during the quilting process. Set up your sewing machine with a quilting foot and choose a stitch pattern that complements the block print.
Machine quilt the layers, starting from the center and working your way outward. Ensure even stitching to create a visually appealing pattern. The quilting not only adds a decorative touch but also secures the layers together.
Step 4: Cotton Sheet Lining
Cut a piece of 100gsm cotton sheet to match the dimensions of the quilted fabric. This will serve as the inner lining of the pouch, providing a soft and protective layer for the contents. Place the cotton sheet on the wrong side of the quilted fabric, covering the plastic lining.
Step 5: Assembly
Fold the quilted fabric in half with right sides facing each other. Pin the sides and bottom edges, leaving the top open for the pouch opening. Sew along the pinned edges, ensuring a sturdy seam. Trim excess fabric and clip corners to facilitate a clean, crisp finish.
Step 6: Turn and Press
Turn the pouch right side out through the open top. Gently push out the corners with a blunt tool to achieve a neat shape. Press the pouch with an iron to smooth out any wrinkles and set the seams.
Step 7: Finishing Touches
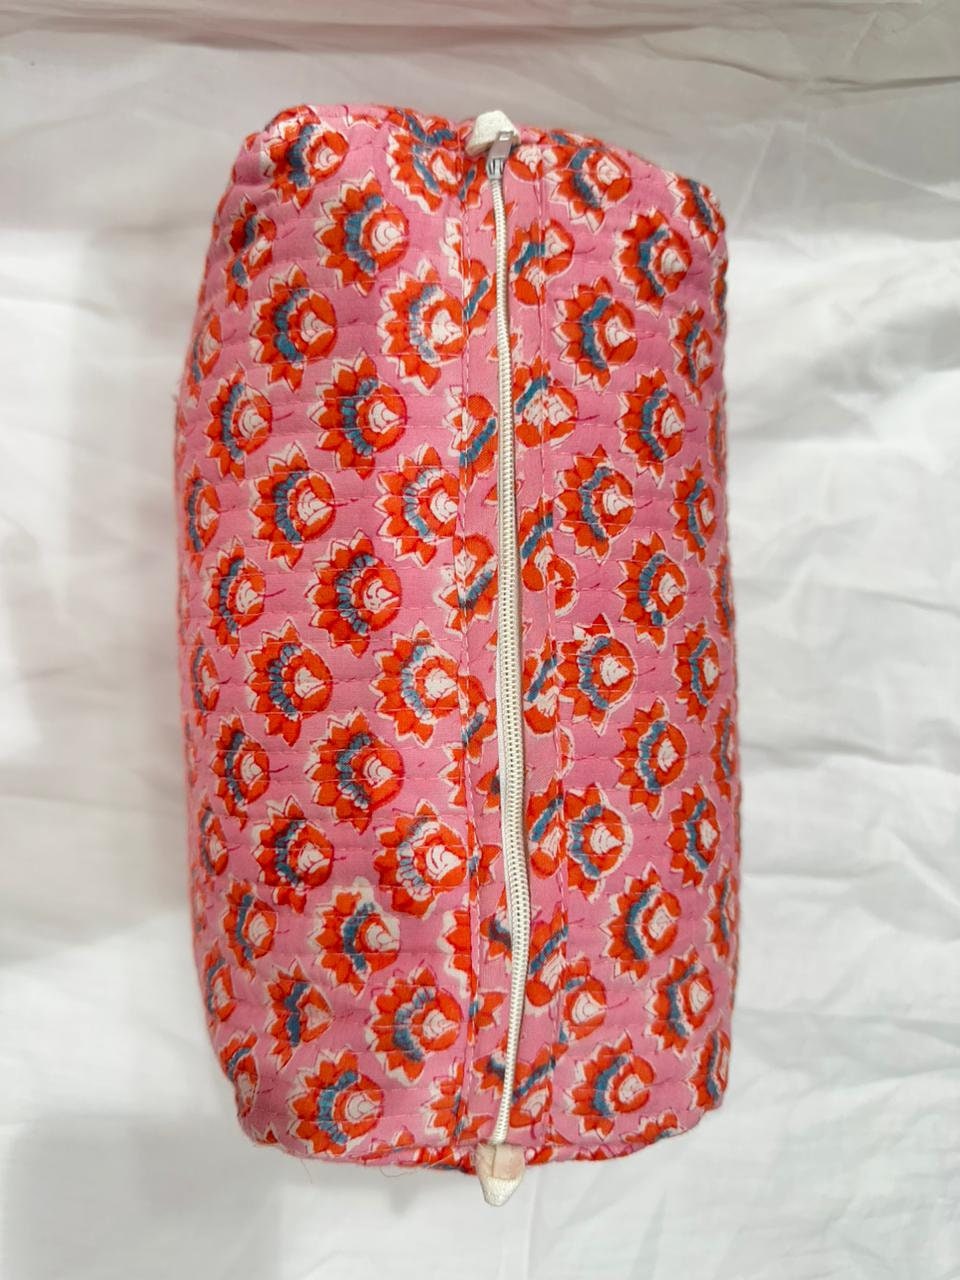
Fold the top edges of the pouch inward to create a clean finish. Topstitch around the opening for added reinforcement. Consider adding a zipper, button, or any preferred closure mechanism to secure the pouch.
Congratulations, you've crafted a machine-quilted toiletry pouch with a beautiful cotton block print fabric, a waterproof plastic lining, and a soft 100gsm cotton sheet interior. This functional and stylish pouch is ready to hold your toiletries in organized fashion.
set of 3 bags
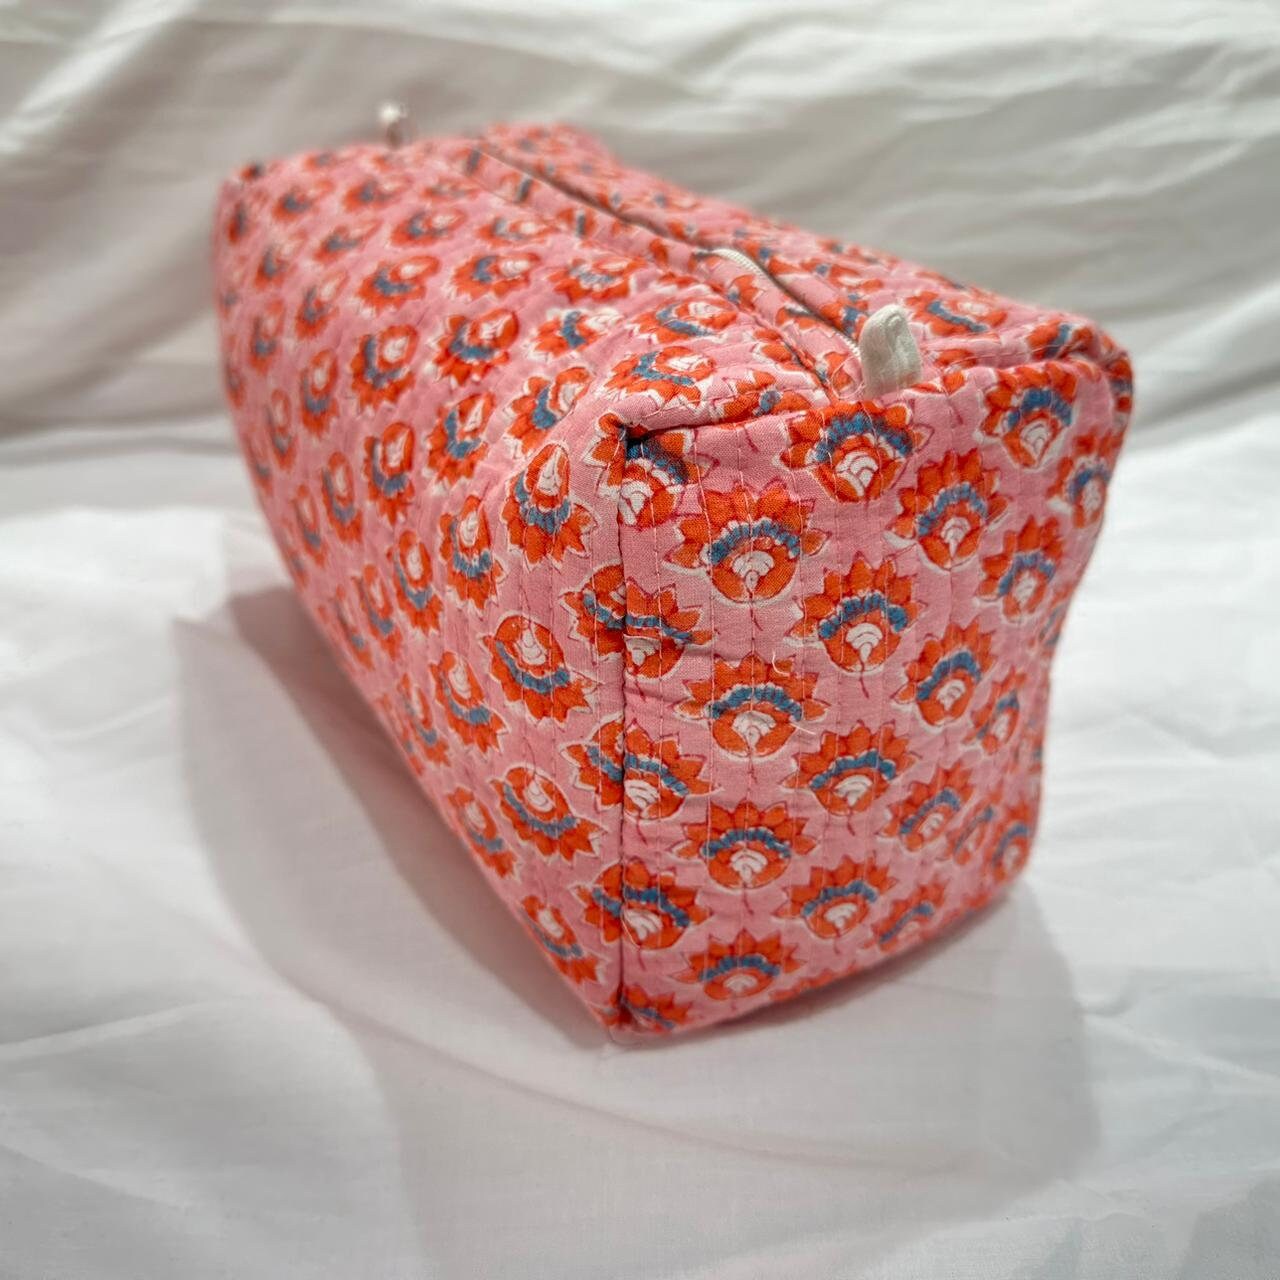
Big- length 28 cm, width 10 cm , height 13 cm
Medium - length 20 cm, width 9 cm , height 11 cm
Small- length 18 cm, width 7.5 cm , height 9.5 cm